
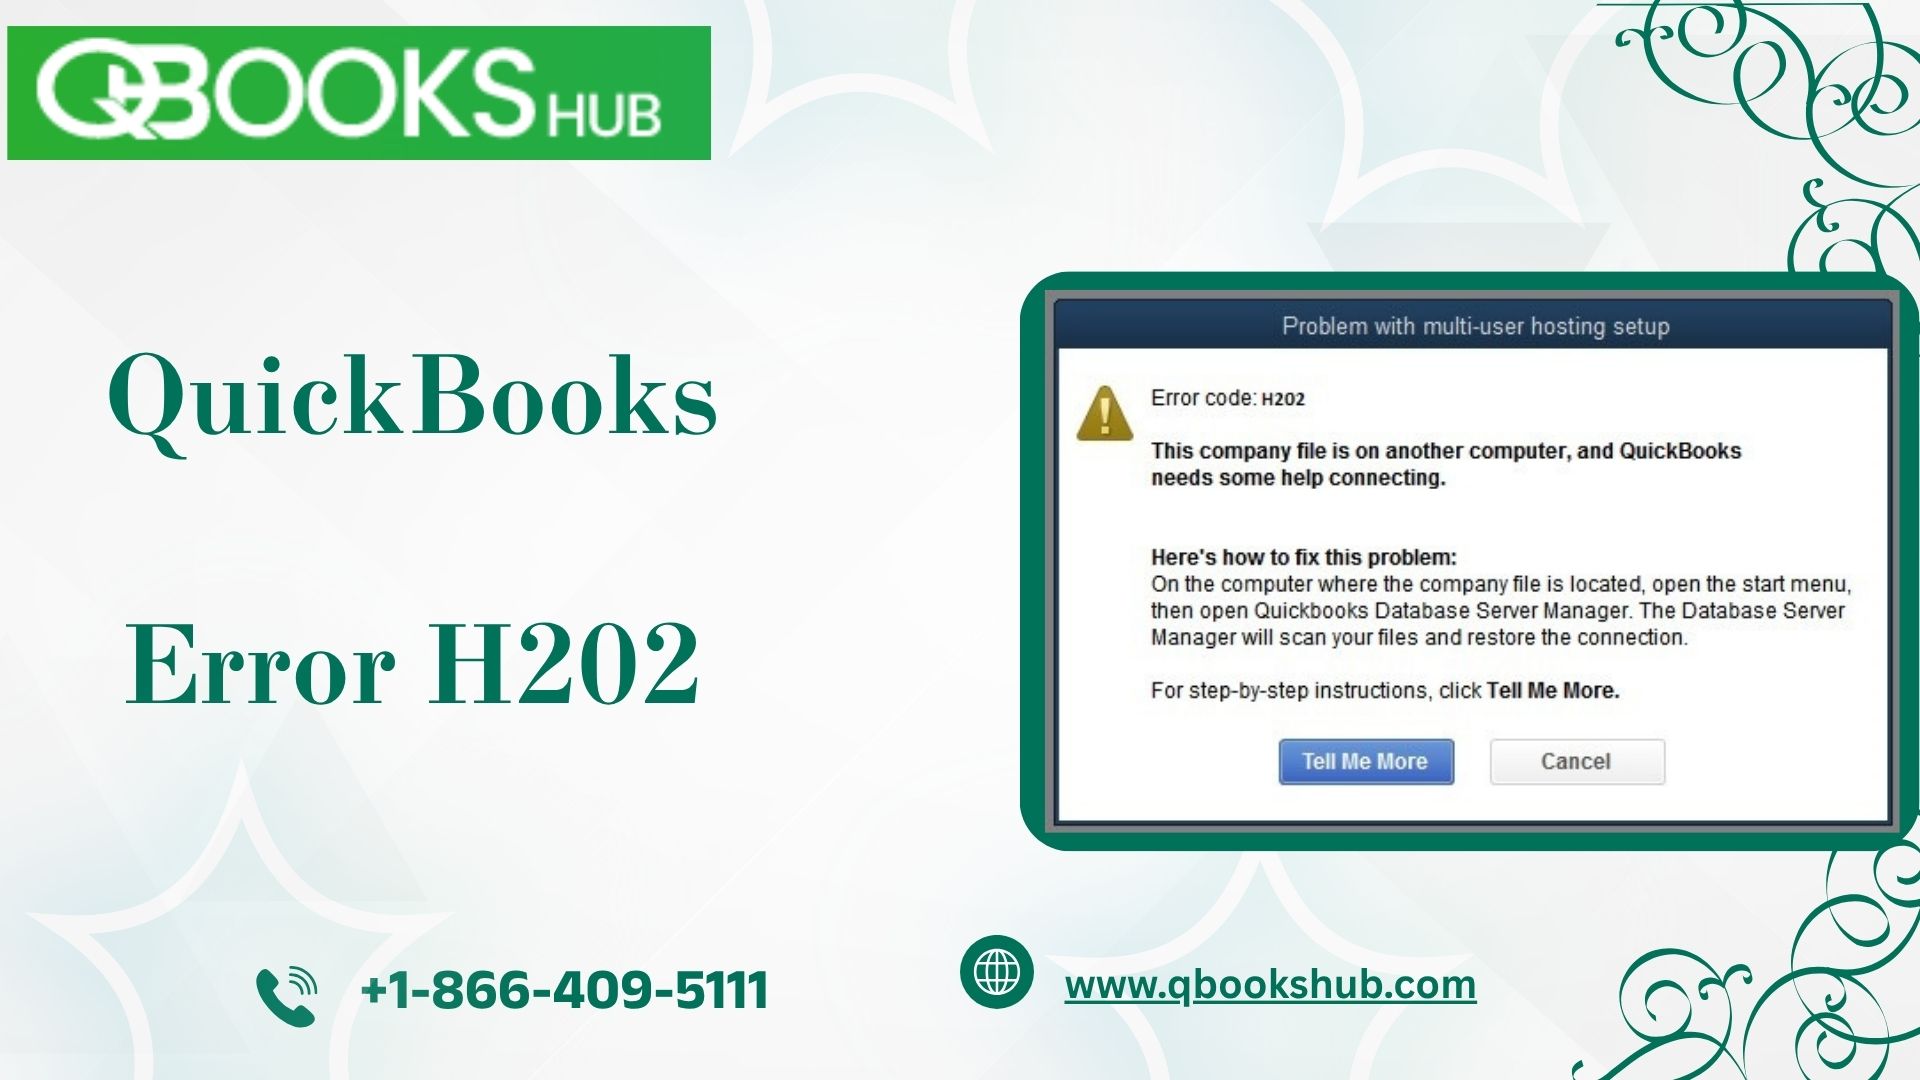
QuickBooks Error H202 is a common multi-user mode issue that occurs when the software is unable to connect to the company file located on another computer. This error means QuickBooks is trying to establish a connection to the server but fails due to configuration or network issues.
Visit this guide on QuickBooks Error H202 to access expert assistance and complete solutions.
Resolve QuickBooks Error H202 quickly and restore multi-user access. For expert support, call +1-866-409-5111.
What Triggers QuickBooks Error H202?
This error often appears when users attempt to switch QuickBooks into multi-user mode. Some of the common causes include:
Incorrect Hosting Configuration on the server.
Windows Firewall or Security Software blocking the connection.
QuickBooks Database Server Manager not running.
Corrupt or Incorrect DNS Settings.
Damaged .ND (Network Descriptor) File.
How to Identify QuickBooks Error H202
If you're facing this error, you might notice:
QuickBooks freezes or becomes unresponsive in multi-user mode.
The following message displays:“You are trying to work with a company file located on another computer, and this copy of QuickBooks can’t reach the server (H202).”
Other network-based services in QuickBooks fail to work.
You can also consider visiting this guide on how to Upgrade QuickBooks Desktop to ensure compatibility with multi-user setups and reduce future error risks.
Effective Methods to Resolve QuickBooks Error H202
Step 1: Run QuickBooks Network Diagnostic Tool
Download and install QuickBooks Tool Hub.
Launch the Tool Hub and go to Network Issues.
Select QuickBooks Database Server Manager and let the tool scan for problems.
Restart QuickBooks and try switching to multi-user mode again.
Step 2: Check Hosting Settings
Open QuickBooks on each computer.
Go to File > Utilities.
If you see Host Multi-User Access, skip that system.
If you see Stop Hosting Multi-User Access, click it to disable.
Step 3: Configure Windows Firewall Settings
Open Windows Firewall and go to Advanced Settings.
Add inbound and outbound rules to allow QuickBooks ports:
8019, 56728, 55378-55382
Allow QuickBooks and Database Server Manager through the firewall.
Step 4: Rename the .ND File
Navigate to the folder where your QuickBooks company file is located.
Find the file with the .ND extension (e.g., CompanyFile.qbw.nd).
Right-click and rename it to CompanyFile.qbw.nd.old.
Restart QuickBooks to create a new .ND file.
Step 5: Add Server to Windows Hosts File
Locate the hosts file (usually found at C:\Windows\System32\Drivers\Etc).
Open it in Notepad as administrator.
Add your server IP address and computer name to the bottom of the file.
Save and restart QuickBooks.
Preventive Tips to Avoid QuickBooks Error H202
Always use QuickBooks Database Server Manager on the host computer.
Regularly check for updates and patches from Intuit.
Keep your network stable and test connections periodically.
Make sure only the server is hosting the company file in multi-user mode.
Advanced Solutions (If Above Steps Fail)
If you're still encountering issues:
Uninstall and Reinstall QuickBooks on all systems.
Move the company file to a different location and test access.
Use a professional IT technician for firewall or DNS reconfiguration.
Contact QuickBooks Support at +1-866-409-5111 for hands-on help.
Learn More: quickbooks not switching to multi user mode
Conclusion
QuickBooks Error H202 can be frustrating, especially when you're trying to collaborate in a multi-user environment. However, with the right steps and tools like QuickBooks Tool Hub, this error can be resolved without delay. Make sure your network is configured correctly and all users have proper access rights.
Still stuck? Don’t hesitate to contact our experts at +1-866-409-5111 for immediate and professional support.